Interior Design Photography: How to Capture the Perfect Shot
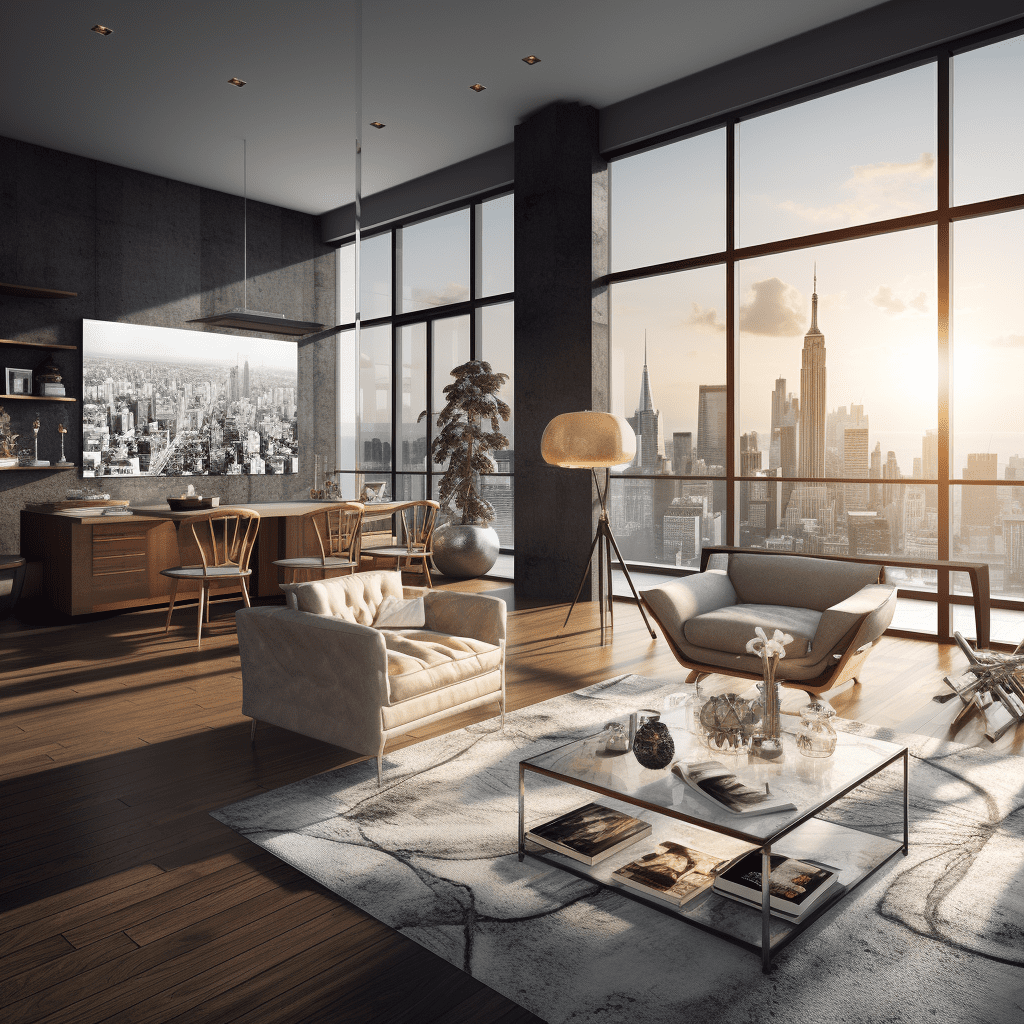

The Art of Interior Design Photography: Capturing Spaces in their Best Light
Are you an interior design enthusiast who loves capturing the beauty of well-designed spaces? If so, interior design photography might be the perfect creative outlet for you. In this article, we will explore the ins and outs of interior design photography, including tips and techniques to help you capture stunning photographs that showcase the beauty and functionality of any space.
Equipment Essentials: What You Need to Get Started
Before diving into the world of interior design photography, it’s important to have the right equipment. While professional-grade gear can often produce the best results, you don’t need to break the bank to get started. Here are the essential equipment items you’ll need:
- Camera: Invest in a DSLR or mirrorless camera that allows you to manually adjust settings such as aperture, shutter speed, and ISO. This will give you greater control over the final outcome of your photographs.
Wide-angle lens: A wide-angle lens is essential for capturing the entirety of a room in a single frame. Look for a lens with a focal length between 16mm and 24mm to ensure you can fit the entire space within your frame.
Tripod: To achieve sharp and well-composed images, a sturdy tripod is a must-have. It will help eliminate camera shake and allow you to experiment with longer shutter speeds for better exposure.
Remote shutter release: A remote shutter release will enable you to trigger the camera without physically touching it, further reducing the risk of camera shake and improving image sharpness.
Lighting: The Key to Stunning Interior Photographs
One of the biggest challenges in interior design photography is lighting. Properly lighting a space can make all the difference in the final outcome of your photographs. Here are some tips to help you master lighting in interior photography:
- Natural light: Whenever possible, leverage natural light as your primary light source. Position your subject or composition to take advantage of window light, paying attention to the direction and intensity of the light.
Supplemental lighting: In situations where natural light is insufficient, employ supplemental lighting techniques. This may include using off-camera flash, reflectors, or softboxes to create a balanced and pleasing light setup.
Light temperature: Pay attention to the color temperature of your light sources, as it can greatly impact the mood and ambiance of the space. Adjust white balance settings on your camera to accurately capture the desired lighting conditions.
Avoid harsh shadows: Be mindful of harsh shadows caused by direct light sources. Soften shadows by diffusing light or bouncing it off a reflector to create a more pleasing and even lighting effect.
Composition and Styling: Creating Visual Harmony
In interior design photography, composition plays a crucial role in capturing the essence of a space. Here are some tips to help you compose your photographs effectively:
- Rule of thirds: Use the rule of thirds as a guideline for placing key elements within your frame. Dividing your composition into thirds horizontally and vertically can create a balanced and visually appealing image.
Leading lines: Utilize lines within the space, such as walls, furniture, or architectural elements, to guide the viewer’s eye towards the focal point. This technique adds depth and visual interest to your photographs.
Symmetry and balance: Create a sense of harmony by employing symmetry and balance in your compositions. Visually divide the space into equal halves or use symmetrical elements to achieve an aesthetically pleasing result.
Declutter and style: Before photographing a space, declutter and style it to create an inviting and visually appealing atmosphere. Remove unnecessary objects and arrange furniture and accessories in a way that enhances the overall design.
Post-Processing: Enhancing the Beauty of Your Shots
Once you have captured your interior photographs, it’s time to enhance them further through post-processing. Here are some post-processing techniques to help you make your images truly shine:
- Correcting perspective distortion: Interior shots often suffer from perspective distortion due to wide-angle lenses. Use software like Adobe Lightroom or Photoshop to correct these distortions and ensure vertical lines remain straight.
Adjusting exposure and white balance: Fine-tune the exposure and white balance settings to achieve a balanced and natural-looking image. Correct any underexposed or overexposed areas to ensure the details are visible.
Enhancing colors: If the colors in your images appear dull or flat, use software to boost saturation and vibrancy. However, be cautious not to overdo it, as overly saturated colors can appear unnatural.
Removing distractions: Use the healing and cloning tools in your editing software to remove any distracting elements in your photographs. This could include wires, blemishes, or other imperfections that take away from the overall composition.
FAQ: Frequently Asked Questions
Q: Can I use my smartphone for interior design photography?
A: While smartphones have improved in camera quality, they may not offer the same level of control and flexibility as a dedicated DSLR or mirrorless camera. For professional results, investing in a good camera with manual controls is recommended.
Q: How do I capture small spaces effectively?
A: When working with small spaces, a wide-angle lens becomes even more crucial. However, be mindful of distortion and ensure your composition remains balanced. Experiment with different angles and utilize natural light to create the illusion of a larger space.
Q: What are some go-to settings for interior photography?
A: There is no one-size-fits-all setting for interior photography, as each space and lighting condition is unique. However, starting with an aperture around f/8 to f/11, ISO 100-400, and adjusting shutter speed accordingly is a good starting point. Fine-tune these settings based on your specific requirements.
Q: How can I make my interior photographs stand out?
A: To make your interior photographs stand out, focus on capturing unique details and perspectives. Experiment with different angles, compositions, and lighting techniques to create visually captivating images. Additionally, paying attention to styling and post-processing can also elevate the overall impact of your photographs.
Q: Can I use natural light exclusively for interior photography?
A: Yes, natural light can produce stunning results in interior photography. However, it may require careful planning and consideration of the available daylight. Keep in mind that the quality and intensity of natural light can vary throughout the day, so be prepared to adapt your shooting schedule accordingly.
Q: How can I build a portfolio as an interior design photographer?
A: Building a portfolio as an interior design photographer can be accomplished through collaborations with interior designers, architects, and homeowners. Reach out to professionals in the field and offer your services for free or at a discounted rate to build a strong and diverse portfolio.
